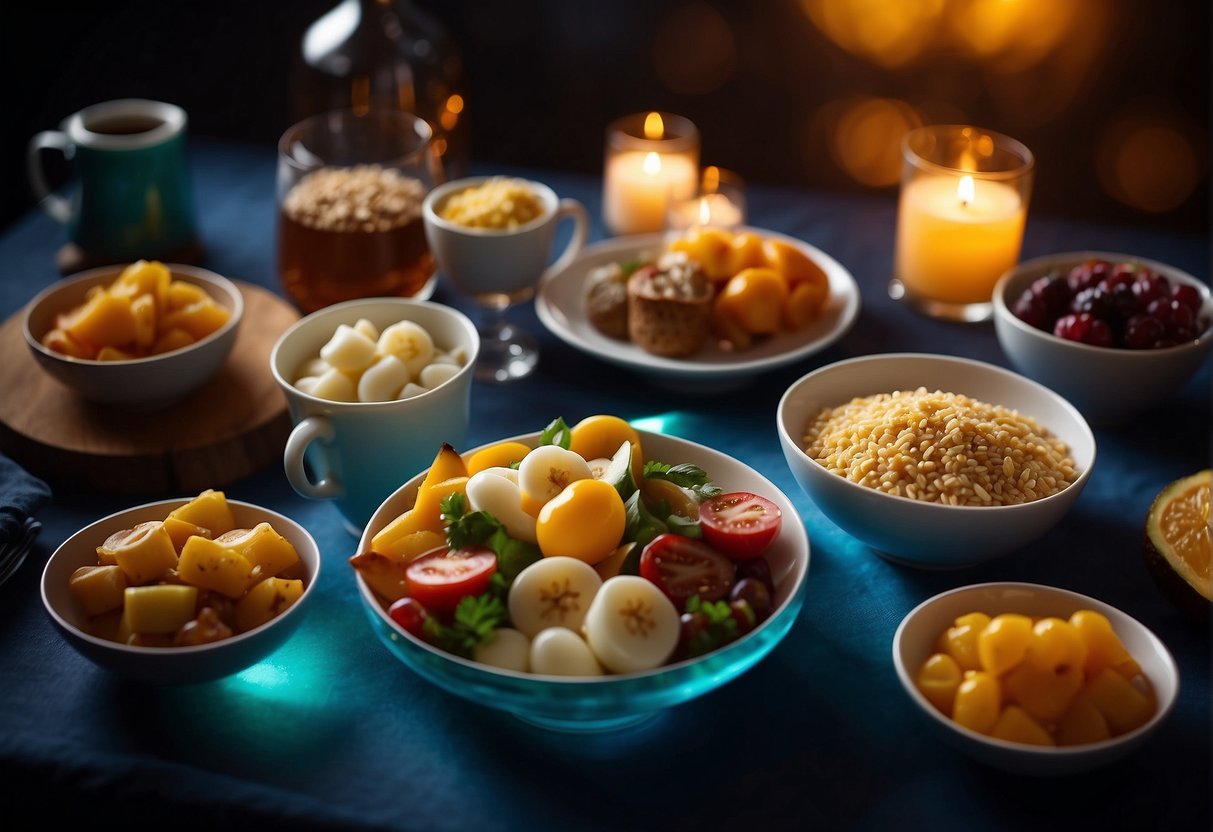
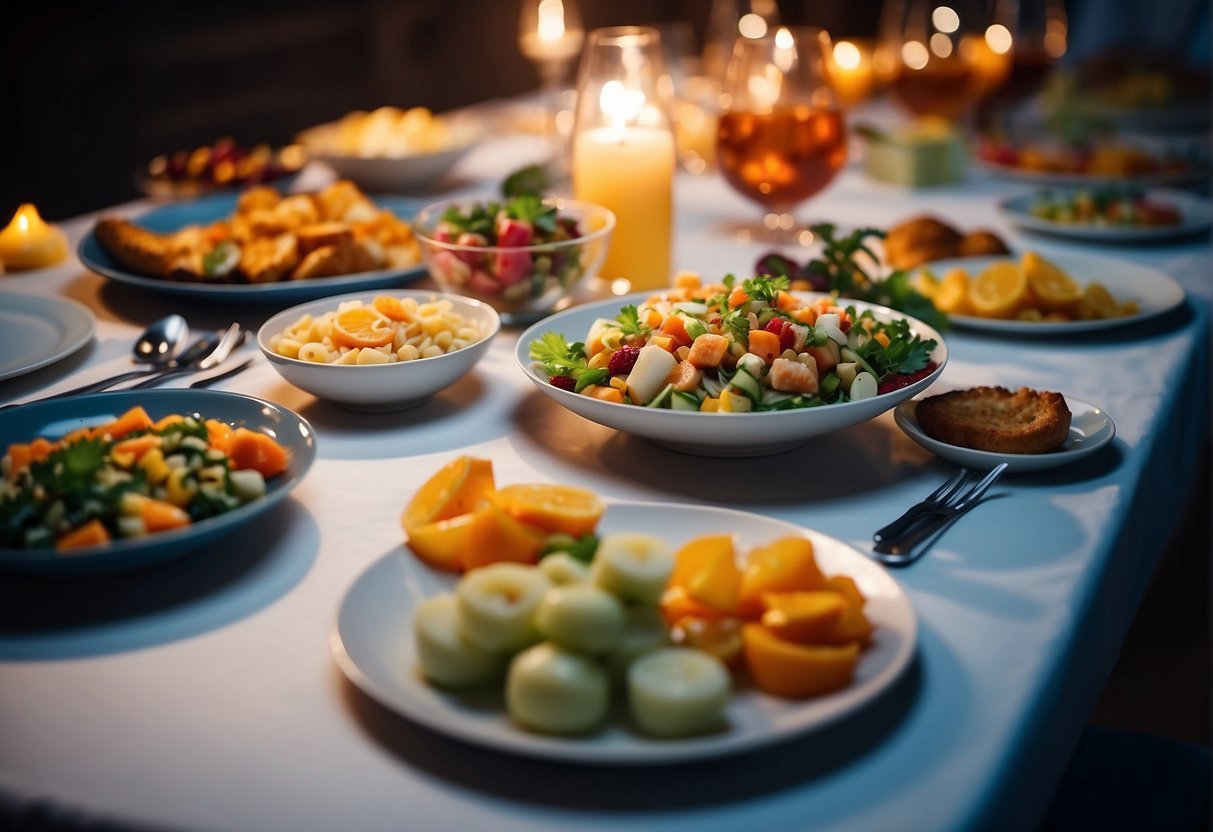
Embarking on the journey of food photography can be both exciting and challenging, especially when it comes to mastering lighting techniques. While natural light is often preferred, there are times when you’ll need to rely on artificial light sources to achieve the perfect shot. One useful option is utilizing artificial Ego lights, which can deliver stunning results for your indoor food photography sessions.
Ego lights provide a viable alternative on cloudy days or during nighttime shoots when natural light is unavailable. By learning how to use these lights effectively, you can create beautifully lit food photos that are both visually appealing and professionally composed. To get started, you’ll need a camera, one or more Ego light sources, and potentially some light modifiers to enhance your set-up.
In the world of food photography, artificial lighting doesn’t have to be intimidating. With some practice and experimentation, you can effectively harness the power of Ego lights to produce mouth-watering images that showcase your culinary creations in the best light possible. Remember to be patient and enjoy the process of learning and refining your skills along the way.
Understanding Food Photography Basics

The Role of Lighting in Food Photography
As a food photographer, mastering lighting is essential for achieving stunning images. While natural light can create beautiful and organic results, artificial lighting provides more control and consistency. This is particularly important when working with food, as it enables you to better highlight textures, colors, and details.
One popular artificial lighting option is the use of LED lights, which offer numerous advantages for food photography. They are energy-efficient, easy to adjust, and often provide high-quality, color-accurate illumination. When positioning your light source, a common technique is to place it at a 10:00 or 11:00 angle. This combines the shine of backlighting with minimal risk of overexposure in the background. To further enhance your images:
- Use a diffuser to soften the light, reducing harsh shadows and creating a more even spread of light across the subject.
- Implement a reflector opposite the light source to bounce light back onto your subject, adding depth and dimension to your scene.
Camera Settings for Perfect Food Shots
To capture stunning food photographs with artificial lighting, pay attention to your camera settings. Here are some important adjustments to consider:
- Aperture: A wide aperture (low f-number) creates a shallow depth of field, keeping your subject in focus and blurring the background. Opt for an aperture between f/2.8 and f/5.6 for this effect.
- Shutter Speed: Aim for a balanced shutter speed of around 1/125 to 1/200. Adjust it accordingly if you want to capture motion, such as steam rising from a dish.
- ISO: Keep your ISO setting low (100-250) to minimize noise and maintain image quality. Increase it only when necessary, like in low-light situations.
- White Balance: Manually adjust your white balance to match the color temperature of your lighting source, ensuring accurate food colors in your images.
Additional Equipment: Depending on your needs and style preferences, consider using a tripod, external flash or light modifier like a softbox for better control over your shot composition and lighting.
By understanding these food photography basics and applying them in your work, you’ll be well on your way to creating mouth-watering images that showcase your culinary subjects at their very best.
Artificial Lighting Techniques

Using Continuous Lights in Food Photography
Continuous light sources, such as artificial ego lights, can significantly enhance your food photography. These lights provide a consistent and adjustable illumination that stays on while you shoot, allowing you to see and control the effects of the light on your subject in real time.
One popular type of continuous light is LED panels. They offer several advantages, such as low heat output and adjustable color temperature. To achieve the best results with these lights, follow these tips:
- Place the light at a 45-degree angle to create soft, diffused lighting.
- Use a light diffuser or softbox to reduce harsh shadows and create a more natural look.
- Adjust the light’s color temperature to match your desired look, for example, a warmer temperature for a cozy atmosphere or a cooler temperature for a clean, professional appearance.
Working with Flash and Strobe Lights
Flash and strobe lights are another option to enhance your food photography. Strobe lights, for instance, are powerful and can produce a higher watts output, making them an excellent choice for professional food photography. They are often used with a Bowens mount, which provides a diverse range of accessories and modifiers to help shape and control the light.
Here’s how to effectively use flash and strobe lights in your food photography:
- For editorial-style photography, aim for a strobe light with at least 300 watts of power. For advertising or product photography, you’ll need more power, preferably around 500 watts.
- Use a flash with TTL (Through The Lens) metering, which automatically adjusts the flash output for the correct exposure based on your camera’s settings, taking the guesswork out of flash photography.
- As with continuous lights, use light modifiers like softboxes and diffusers to create a natural-looking, diffused light.
- Experiment with positioning the flash or strobe light at various angles and distances from your subject to find the most pleasing look.
Remember, with practice and experimentation, you’ll be able to master these artificial lighting techniques and significantly improve your food photography skills!
Light Modifiers and Control
Diffusing Light for Softer Shadows
When using artificial ego lights for food photography, one of the primary goals is to soften shadows to create a more natural look. To achieve this, you can use a diffuser to scatter the light, effectively mimicking the behavior of natural light. There are several options available, such as a softbox or a diffuser lamp shade dish.
A softbox is a popular choice for food photographers, as it creates a large and even light source. To set it up, mount the softbox onto a light stand and position it close to your subject. Experiment with various angles and distances to find the perfect softness of the shadows.
Another option is a diffuser lamp shade dish, which can also provide excellent shadow effects. Combine this with honeycomb grids to focus the light on specific areas of your subject, while still maintaining a soft appearance.
Reflectors and Flags to Shape Light
Aside from diffusers, you can also use reflectors and flags to shape and control the light in your food photography. Reflectors are designed to bounce light back onto your subject, filling in shadows and highlighting specific areas. There are various types of reflectors, such as:
- Silver reflector: Provides strong, directional light
- White reflector: Offers a softer, more subtle light
- Gold reflector: Creates a warm, sunlit effect
In addition to reflectors, use flags to block or reduce the intensity of light in certain areas. Flags can be mounted on a light stand and placed between the light source and your subject. This helps create depth and contrast, making the food appear more appetizing.
In conclusion, mastering light modifiers such as diffusers, softboxes, reflectors, and flags is essential for achieving professional-looking food photos with artificial ego lights. Don’t be afraid to experiment, and soon you’ll have the perfect setup tailored to your unique style.
Setting Up Your Food Photography Space
Choosing the Right Location
When setting up your food photography space, finding the right location is crucial. Ideally, select a spot with ample space and minimal clutter. A kitchen or a dedicated studio could serve as a suitable location for food photography.
Consider the natural light available at the location as well. However, since you’re using artificial ego lights, this becomes less important. If shooting in a kitchen, ensure there is enough room for lights and other equipment. If opting for a studio, you may have more flexibility in positioning the lights and setting up the scene.
Essential Equipment for Food Photography
To create professional-looking food photography using artificial ego lights, you’ll need the following essential equipment:
- Artificial ego light: A reliable light source for consistent and controlled lighting conditions.
- Light diffuser: Helps soften and distribute the light evenly, avoiding harsh shadows.
- Tripod: A sturdy tripod keeps your camera stable, allowing for sharp images and various angles.
- Reflector: Used to bounce light back onto the subject, filling in shadows and creating a balanced exposure.
A simple but efficient setup for food photography using artificial ego lights would look like this:
| Equipment | Purpose | Position |
|---|---|---|
| Artificial ego light | Main light source | 45° angle from the subject |
| Light diffuser | Soften and distribute light | Between light and subject |
| Tripod | Stabilize camera | At your desired angle |
| Reflector | Fill in shadows | Opposite the light source |
With these essential equipment and location elements in place, you’ll be well on your way to capturing stunning food photographs using artificial ego lights.
Post-Production and Technical Tips
When working with artificial Ego lights for food photography, it is important to get a handle on certain technical aspects that can have a significant impact on the final image. By focusing on the following, you can make the most of artificial lighting and create visually appealing food photographs.
White Balance: Artificial lighting can often result in unwanted color casts in your photos. To tackle this, always pay attention to the white balance and adjust it accordingly, either in-camera or during post-processing. Proper white balance ensures that the colors in your food photos are true to life and consistent.
ISO, Exposure, and Aperture: Achieving the correct exposure is crucial for your food photos. Lower ISO values (e.g., 100 or 200) produce less noise and result in cleaner images. Adjust the shutter speed and aperture to let in the right amount of light and maintain sharpness in the details. It’s good practice to use a tripod, which allows you to use slower shutter speeds while avoiding camera shake.
- The Color Rendering Index (CRI) is a useful reference for evaluating the quality of your artificial light source. Higher CRI values (above 90) indicate better color accuracy, ensuring that your food looks as appealing and delicious as possible. Always check the CRI of your Ego lights before purchasing.
- Consistency is key in food photography, especially when working with artificial lights. Practice with different lighting setups and develop a preferred setup for various food types and styles. Consistency in your lighting approach simplifies post-processing and enhances the visual appeal of your food images.
Lastly, don’t underestimate the power of post-production in refining your food photography. Familiarize yourself with photo editing software such as Adobe Lightroom or Photoshop. Here are some important adjustments to consider:
- Exposure correction
- Highlights and shadows
- Vibrancy and saturation
- Sharpening and noise reduction
By consistently paying attention to these technical aspects and honing your skills in post-production, you can create stunning food photographs with artificial Ego lights.