Are you a fan of homemade bread but following a gluten-free diet? Look no further! Introducing Gluten Free Crusty Boule Bread, a delicious recipe that will satisfy your cravings and provide a delightful artisan-style loaf, perfect for any occasion. Whether you are new to gluten-free baking or an experienced bread enthusiast, this recipe is sure to become a staple in your kitchen.
Key Takeaways:
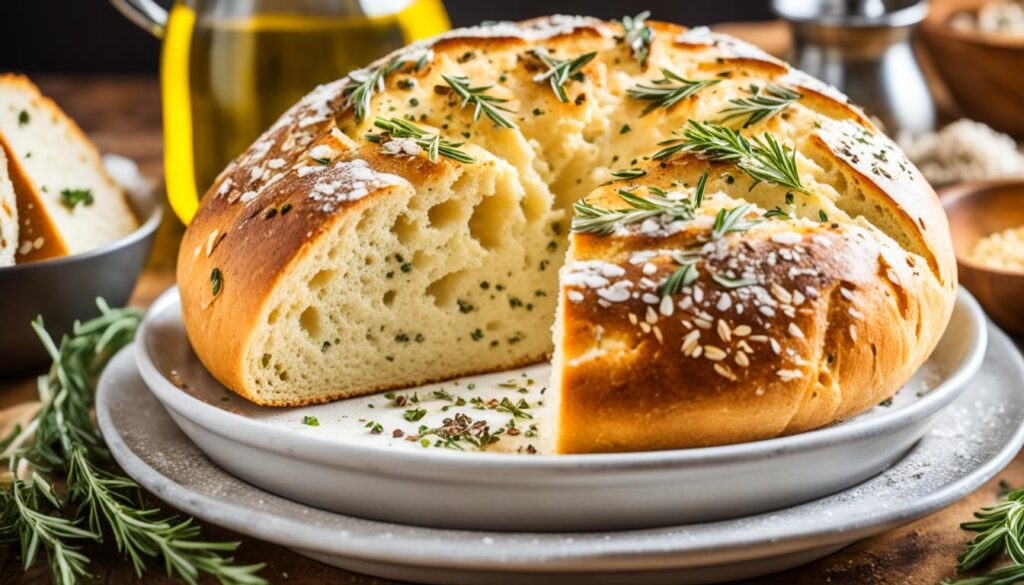
- Gluten Free Crusty Boule Bread offers a perfect, artisan-style loaf that is gluten-free.
- The recipe uses a combination of gluten-free flours, xanthan gum, and psyllium husk for a crusty and flavorful result.
- Soaking the gums and refrigerating the dough overnight contribute to the perfect texture and rise of the boule.
- Using a proofing basket and gently shaping the bread are crucial for achieving the desired crusty exterior and springy interior.
- Baking the boule at a high temperature and adding steam enhances the crust development, resulting in a hearty and chewy texture.
Now that you know how to create your own Gluten Free Crusty Boule Bread, it’s time to gather your ingredients and explore the joy of gluten-free baking. Let the warm aroma of freshly baked bread fill your kitchen and indulge in the satisfaction of savoring a homemade artisan bread.
The Secret to a Perfect Gluten Free Boule: Soaking the Gums and Refrigeration
The secret to baking a perfect gluten-free boule lies in soaking the gums before adding them to the dough. This recipe uses guar gum and xanthan gum to balance the texture of the loaf. Soaking the gums helps to hydrate them and improve the overall structure of the bread. Additionally, refrigerating the dough overnight enhances the rise and flavor of the bread, resulting in a hearty and chewy texture.
When it comes to gluten-free baking, achieving the right texture can be a challenge. Gluten, the protein found in wheat, provides structure and elasticity to bread. Without gluten, it’s important to rely on other ingredients to create a similar texture.
Guar gum and xanthan gum are two commonly used gluten substitutes in gluten-free recipes. They add viscosity and help bind the dough together. However, using these gums in their dry form can result in a gummy or dense texture.
To overcome this, the soaking process comes into play. Soaking the gums before adding them to the dough allows them to fully hydrate and develop their natural thickening properties. This step ensures that the gums blend seamlessly into the dough, improving its texture and resulting in a lighter and airier boule.
Soaking the gums before using them in the recipe can help improve the overall structure and texture of the gluten-free boule.
In addition to soaking the gums, refrigerating the dough overnight is another crucial step. This extended fermentation period allows the dough to develop more flavor and enhances the overall rise of the bread. The controlled temperature of the refrigerator slows down the yeast activity, resulting in a deeper and more complex flavor profile.
Furthermore, refrigeration helps the dough firm up, making it easier to shape and handle. This allows for better control during the shaping process, resulting in a boule with a more uniform crumb structure and a beautifully rounded shape.
By incorporating both soaking the gums and refrigeration into the gluten-free boule recipe, you can achieve a bread with a crusty exterior, a soft and chewy interior, and a delicious depth of flavor.
Now that we’ve covered the secret to a perfect gluten-free boule, let’s move on to the next section, where we’ll explore the importance of proofing and shaping the boule.
The Importance of Proofing and Shaping the Boule
To create a perfect gluten-free boule with a crusty exterior and a springy interior, proofing and shaping the dough are crucial steps in the baking process. These techniques ensure that your bread maintains its shape, develops delightful air pockets, and achieves the desired texture.
When proofing the dough, using a proofing basket or a flour-lined bowl is essential. These tools support the dough during the rising process, allowing it to maintain its shape and preventing it from spreading out too much. A proofing basket not only helps with shaping the bread but also creates those beautiful ridges and flour patterns on the crust.
Shaping the bread is equally important to preserve the air bubbles and achieve the desired texture in the final loaf. It’s essential to handle the dough gently during the shaping process to avoid deflating the air bubbles. This gentle approach ensures that the loaf remains light and airy, giving it that characteristic artisan-style texture.
Proofing Basket vs. Flour-lined Bowl
| Proofing Basket | Flour-lined Bowl |
|---|---|
| Helps dough retain shape | Keeps dough contained |
| Creates ridges and flour patterns on crust | Allows for easy removal of dough |
| Promotes air circulation | Provides a snug environment for rising |
By using a proofing basket or a flour-lined bowl, you’ll find that your gluten-free boule maintains its shape, develops a crusty exterior, and has a beautifully springy interior. These techniques contribute to the overall artisan-style experience of your gluten-free bread.
Now that you understand the importance of proofing and shaping, you’re one step closer to creating a delicious gluten-free artisan boule. In the next section, we’ll explore the final steps – baking the boule to perfection with high heat and steam.
Baking the Boule to Perfection: High Temperature and Steam
To achieve a crusty and flavorful boule, it is recommended to bake the bread at a very high temperature on a preheated baking stone. The high heat helps to create a crispy crust on the outside while maintaining a springy texture on the inside. Adding steam to the oven during the baking process further enhances the crust development. The resulting bread has a hearty and chewy texture that is sure to satisfy any gluten-free bread lover.
When baking the boule, start by preheating your oven to a high temperature, typically around 450°F (232°C). Place a baking stone on the middle rack of the oven and allow it to heat up along with the oven. The baking stone helps to evenly distribute the heat and ensures a consistent bake.

Once the oven and baking stone are hot, transfer your shaped boule onto a piece of parchment paper and carefully place it onto the preheated stone. This helps to prevent the bread from sticking and allows for easy removal later on.
Next, it’s time to create steam. Steam helps to create a moist environment in the oven, resulting in a better rise and a crusty exterior. There are a few ways to add steam to your oven:
- Place a shallow pan filled with water on the lower rack of the oven during preheating.
- Spritz the dough with water using a spray bottle just before placing it in the oven.
- If your oven has a built-in steam function, utilize that for optimal results.
Close the oven door quickly to trap the steam inside. The steam will work its magic during the first few minutes of baking, creating a beautiful crust.
Bake the boule at the high temperature for about 30-35 minutes, or until the crust is golden brown and sounds hollow when tapped on the bottom. The internal temperature of the bread should reach around 200°F (93°C).
Once the boule is done, remove it from the oven and allow it to cool on a wire rack. It’s important to resist the temptation to slice into the bread immediately as this can lead to a less crisp crust.
With the combination of high temperature baking and steam, your gluten-free boule will have a beautifully crusty exterior and a tender, chewy interior that will satisfy even the most discerning bread lovers.
Storage and Serving Tips: Enjoying the Boule at its Best
Once you’ve baked your delicious gluten-free boule, it’s important to store and serve it properly to maintain its flavor and texture. Follow these storage tips and serving tips to ensure you enjoy your boule at its best:
Storage Tips
For the best flavor and texture, it is recommended to store the boule wrapped in a linen cloth at room temperature for up to 2 days. This method allows the bread to breathe while keeping it protected. Avoid storing the bread in an airtight container as it may cause the crust to become soggy. Let the bread cool completely before wrapping it in the linen cloth to prevent condensation from forming inside and affecting its quality.
If you find that you won’t be able to consume the entire boule within a few days, don’t worry! The bread can be sliced and frozen for longer storage. Simply wrap individual slices in plastic wrap or place them in airtight containers before freezing. When ready to enjoy, thaw the slices at room temperature or gently toast them for a warm and crispy experience.
Serving Tips
To savor the boule’s optimal flavor and texture, follow these serving tips:
- Allow the bread to cool completely before slicing. This ensures that the inside of the boule remains soft and moist while retaining its crusty exterior.
- Use a sharp serrated knife to slice the boule. Gluten-free bread can be denser than traditional bread, so a sharp knife will help you achieve clean, even slices.
- Pair the boule with your favorite spreads, such as butter, olive oil, or jam, to enhance its flavors. Experiment with different combinations to find your perfect match.
- Serve the boule alongside soups, stews, or salads for a satisfying meal. Its crusty crust and soft interior make it a versatile choice for a variety of dishes.
Now that you know the best storage and serving practices, you can fully enjoy the taste and texture of your homemade gluten-free boule. Whether you’re hosting a gathering or treating yourself to a delicious meal, this bread is sure to impress!
| Storage Tips | Serving Tips |
|---|---|
| Store wrapped in a linen cloth at room temperature for up to 2 days. | Allow the bread to cool completely before slicing. |
| Avoid storing in an airtight container to prevent the crust from becoming soggy. | Use a sharp serrated knife for clean, even slices. |
| Slice and freeze for longer storage. | Pair with spreads like butter, olive oil, or jam. |
| Serve alongside soups, stews, or salads. |
Conclusion
Gluten Free Crusty Boule Bread is a delightful homemade recipe that brings the joy of baking and the satisfaction of enjoying a gluten-free artisan-style bread right to your kitchen. By following the right ingredients and techniques, you can create a perfect boule that boasts a crusty exterior and a soft interior.
Whether you savor it on its own, dip it in flavorful sauces, or pair it with wholesome soups and stews, this gluten-free bread is a delicious treat for gluten-free and bread lovers alike. The simplicity of the recipe and the accessibility of the ingredients make it a must-try for anyone looking to elevate their homemade bread game.
So, gather your ingredients, roll up your sleeves, and embrace the joy of baking your very own Gluten Free Crusty Boule Bread. Experience the aromas, flavors, and textures that can only come from a homemade loaf, and indulge in the satisfaction of creating a gluten-free bread that will impress your friends and family. Start your baking adventure today!
FAQ
How long does it take to make Gluten Free Crusty Boule Bread?
The total time required to make this bread is approximately 14-16 hours, including resting and baking time.
Can I substitute the gluten-free flours in the recipe?
Yes, you can experiment with different gluten-free flours, but be aware that it may affect the texture and flavor of the bread.
What is the purpose of soaking the gums before adding them to the dough?
Soaking the gums helps to hydrate them and improve the overall structure of the bread, resulting in a better texture.
Can I skip the refrigeration step?
Refrigerating the dough overnight enhances the rise and flavor of the bread, but if you’re short on time, you can skip this step, although the final result may differ.
Do I need a proofing basket to shape the boule?
While a proofing basket helps the dough retain its shape and create air pockets, you can also use a flour-lined bowl as an alternative.
How do I prevent the bread from becoming soggy?
To avoid a soggy crust, it is best to store the boule wrapped in a linen cloth at room temperature for up to 2 days, instead of keeping it in an airtight container.
Can I freeze the Gluten Free Crusty Boule Bread?
Yes, if you don’t consume the bread within a few days, you can slice it and freeze the individual slices for longer storage.
How should I serve the Gluten Free Crusty Boule Bread?
For the best experience, allow the bread to cool completely before slicing and enjoy it on its own, dipped in sauces, or paired with soups and stews.