Planning a wedding can be both exciting and challenging, especially when it comes to making choices that reflect your personal style and theme. One aspect of wedding planning with significant creative opportunity is deciding on a cake that represents the essence of your celebration. For those seeking a unique and budget-friendly option, a DIY wedding cake could be the perfect solution.
Creating your own wedding cake not only adds a personal touch to your special day but also allows you complete control over flavors, design, and presentation. With countless sources of inspiration, such as cake blogs, online recipes, and tutorials, learning to make your own wedding cake can be a fun and rewarding experience.
As you begin your DIY wedding cake journey, keep in mind the specific theme and decor you’ve chosen for your wedding. This will provide guidance in selecting colors, designs, and ingredients. And don’t forget, making a wedding cake at home is a memorable way to bond with loved ones and build lasting memories during the planning process.
Planning Your DIY Wedding Cake
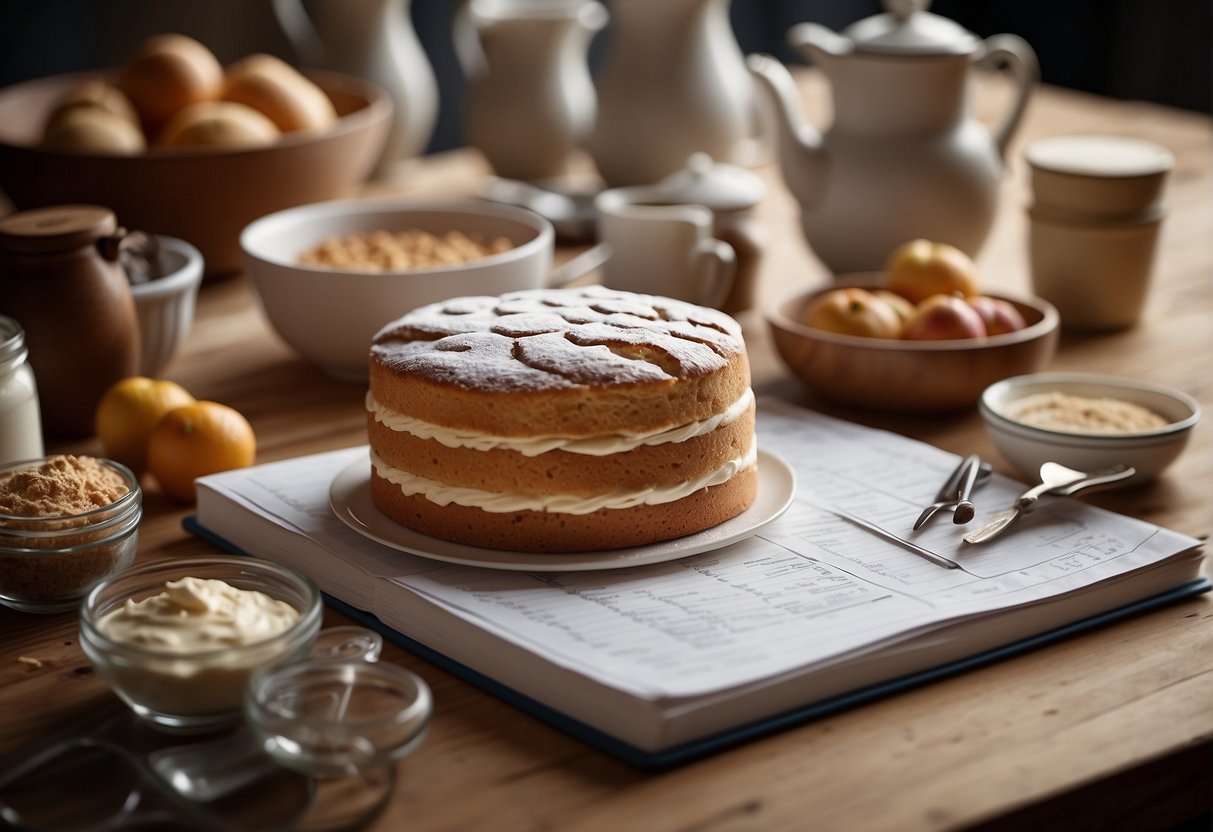
Embarking on the journey of creating your own wedding cake is a rewarding experience. With careful planning and organization, you can create a beautiful and delicious centerpiece for your special day. In this section, we will discuss the essential steps and considerations for planning your DIY wedding cake.
First, decide on the size and design of your wedding cake. Consider the number of guests attending your wedding and choose a suitable size to ensure everyone gets a slice. For example, a three-tiered wedding cake can comfortably serve around 75-100 guests. Once you’ve decided on the size, explore different cake designs and select one that complements your wedding theme.
Next, determine your cake flavors and fillings. Experiment with various combinations and consult with your partner to choose the perfect one. Keep in mind that providing different flavors for different tiers can offer a delightful surprise for your guests.
It is crucial to organize a timeline and schedule for creating your DIY wedding cake:
- 6-8 weeks before the wedding – decide on the cake size, design, flavors, and fillings.
- 4-6 weeks before the wedding – gather the necessary tools and equipment, such as cake pans, dowels, and turntables.
- 3-4 weeks before the wedding – practice and perfect your chosen cake recipes and cake decorating techniques.
- 1-2 weeks before the wedding – make arrangements for cake transport, delivery, and display at the wedding venue.
Remember to allocate specific tasks to yourself and any family or friends assisting with the wedding cake process. This will help ensure that everything runs smoothly and efficiently.
Keep in mind the following cake decorating tools and equipment:
| Tools and Equipment | Purpose |
|---|---|
| Cake Pans | Varying sizes for each tier of the cake |
| Cake Boards | Provide a sturdy base for each cake layer |
| Dowels | Support the weight of the tiers and prevent collapsing |
| Cake Turntable | Facilitates a smooth and even cake decorating process |
| Spatulas | Spread and smooth frosting, filling, and buttercream |
| Piping Bags & Tips | Create various designs and intricate details with icing |
Lastly, research and gather inspiration through various online resources. Websites, blogs, and magazines can offer creative ideas and valuable tips for making your own wedding cake.
By following these guidelines and properly planning your DIY wedding cake, you can create a stunning and memorable addition to your special day.
Designing Your Cake
Choosing Cake Flavors and Fillings
When designing your DIY wedding cake, start by choosing the cake flavors and fillings. Popular cake flavors include vanilla cake, lemon cake, chocolate chip, and red velvet cake. To get a moist and flavorful cake, consider using sour cream in the recipe. For the fillings, some options are lemon curd, jam, chocolate mousse, and pastry cream. Experiment with different combinations to find what suits your taste best.
Cake Decoration Ideas
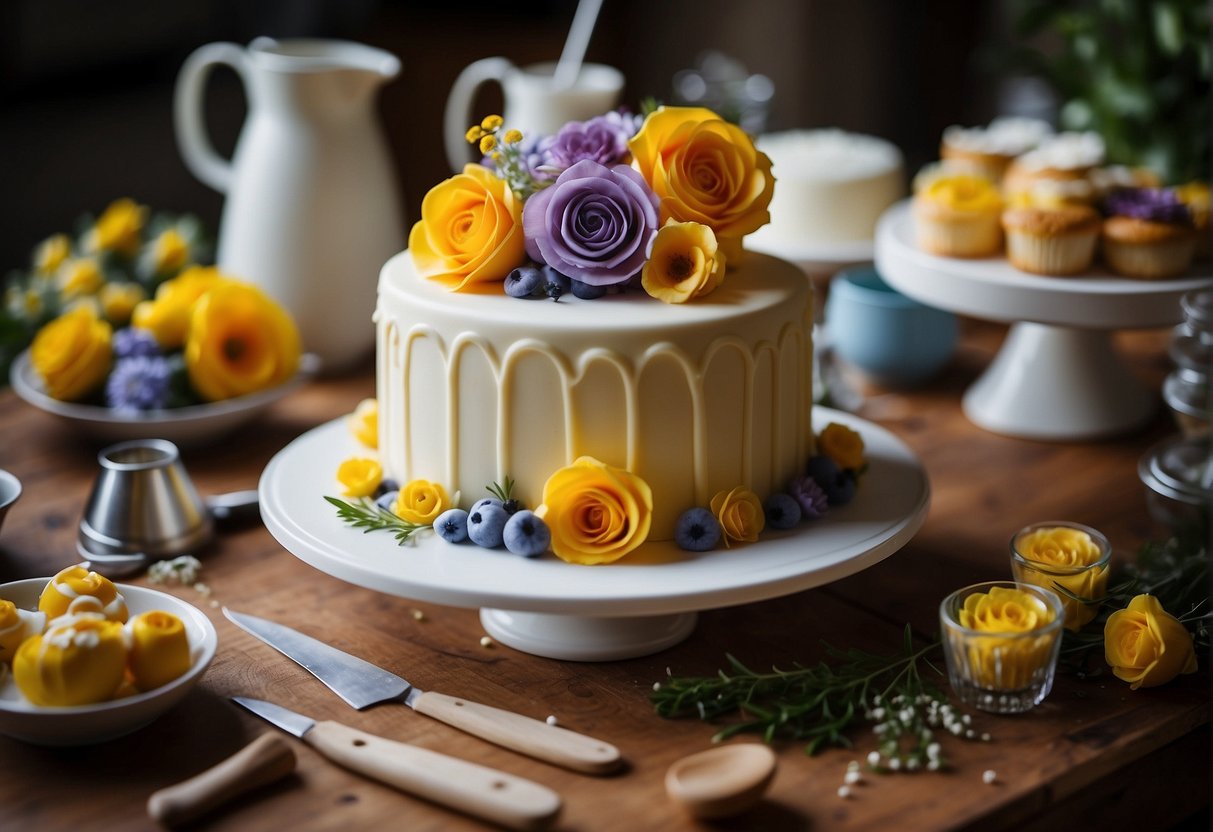
Next, consider the decoration for your wedding cake. There are many options, ranging from simple to intricate designs. For a minimalist approach, you can opt for a semi-naked cake which shows a glimpse of the cake underneath a thin layer of buttercream frosting. Other options include using fondant for a smooth, elegant finish or decorating with fresh flowers to match your wedding theme.
When it comes to frosting, consider using Italian meringue buttercream or Swiss meringue buttercream for their smooth and silky texture. These frostings can be easily colored and flavored, allowing you to customize the appearance of your cake.
Creating a Dessert Table
In addition to the wedding cake, consider creating a dessert table with other sweet treats that complement your cake. Popular desserts for a dessert table include:
- Cupcakes
- Cookies
- Brownies
These desserts add variety and can be easily incorporated into your wedding theme and decoration.
DIY Wedding Cake Inspirations
Finding inspiration for your DIY wedding cake can be as simple as browsing Pinterest or looking through wedding blogs. Keep your skill level in mind and choose a design that you feel confident about executing. As you plan your cake design, gather the necessary tools, such as:
- Cake pans
- A stand mixer
- Offset spatula
- Bench scraper
- Spatulas
- Cake drum
- Pastry bag
- Cake turntable
Remember, practice makes perfect. Before attempting your final wedding cake, try making a few smaller cakes to hone your skills and ensure success on your big day. Bring your passion and creativity to the table and let it guide you as you create a stunning and delicious DIY wedding cake.
Gathering the Right Tools and Ingredients
Essential Baking Tools
To make a beautiful and delicious DIY wedding cake, you need the right tools. Here’s a list of essential baking tools for creating a wedding cake:
- Cake pans: Various sizes (typically 6, 9, and 12 inches) for making different tiers
- Parchment paper: To line the cake pans for easy removal
- Kitchen scale: For accurate measuring of ingredients
- Mixing bowls: Separate bowls for wet and dry ingredients
- Spatulas: A combination of larger and smaller spatulas for stirring and spreading
- Stand mixer: Ideal for mixing cake batter and making buttercream
- Serrated knife: For leveling and trimming the cake layers
- Cake boards: Helps with moving and stacking the cake layers
- Lazy Susan: A rotating platform for easy icing and decoration
- Pastry bag with various tips: For decorating the cake with buttercream and filling
Choosing Quality Ingredients
Next, you’ll need to choose quality ingredients for your wedding cake:
- Cake flour: Provides a soft and tender crumb for the cake. Consider using a cake flour substitute if needed.
- Egg whites: Used in both the cake batter and buttercream frosting for lightness and structure.
- Butter: Room temperature butter to create a smooth cake batter and creamy buttercream.
- Sour cream: Enhances the moistness and adds a slight tang to the cake.
- Vanilla: A vanilla cake recipe is often chosen for its universally appealing flavor. Consider using high-quality vanilla extract for the best result.
- Fillings: Customize your wedding cake with a variety of fillings, such as lemon curd or fresh strawberries. These will add a delicious contrast to the cake layers and buttercream.
- Boxed cake mix: If you’re short on time or prefer a simpler method, you can still achieve an impressive DIY wedding cake with a quality boxed cake mix.
After assembling your tools and ingredients, create a timeline for baking and decorating your cake. This will ensure a smooth process and allow for sufficient storing and cooling between the various steps involved. Remember to enjoy the process and take pride in your skills as you embark on this creative journey to bake your dream wedding cake.
Baking and Assembling the Cake
Preparing the Cake Batter and Baking
To begin, gather all the necessary ingredients such as sugar, cake flour, eggs, extra egg whites, sour cream, whole milk, and room-temperature butter. Preheat your oven and prepare your three-tiered cake pans—typically 6″, 9″, and 12″—by lining them with parchment rounds.
In a large mixing bowl or stand mixer, combine your ingredients according to your chosen vanilla wedding cake recipe. Mix until smooth. Fill each of the cake pans with the needed cake batter: 4 cups for the top tier, 7–8 cups for the middle, and 12 cups for the bottom tier. Bake the layers as directed in your recipe.
Assembling and Frosting the Cake
Once the cake layers have cooled, use a cake leveler or large serrated knife to remove the tops of the cakes so they are level. Have prepared cake boards that fit each cake tier.
For the frosting, prepare a batch of buttercream frosting. Apply a thin layer of buttercream—called a crumb coat—to each cake layer, using an offset spatula. Let them chill in the fridge for at least 30 minutes. After the crumb coat has set, apply a thicker layer of buttercream frosting to each tier using an offset spatula and a bench scraper for smooth sides.
Creating a Stable Structure
To ensure your three-tiered wedding cake is stable, use cake dowels or wooden dowels. For the bottom and middle tiers, insert dowels evenly spaced, in a circular pattern. The dowels should be cut to the same height as the frosted cake tier.
Place each cake tier on its corresponding cake board and stack them. Carefully center and press the middle and top tiers onto the dowels below them, ensuring a stable structure. Your wedding cake should now be a three-tier masterpiece!
Applying the Final Touches
For decorations, consider using fresh flowers, edible accents, or any other design you desire. Take your time while decorating, using a cake turntable where necessary to give you an even, beautiful result.
Transportation and Presentation
Transporting a tiered wedding cake can be challenging. Ensure the cake has enough time to set before moving it. Plan ahead and have a solid cake drum or sturdy platter that is larger than the bottom tier. A cake box can also provide protection during transportation.
When you arrive at the venue, carefully transfer the cake onto your chosen presentation stand or platter. Finally, relax and enjoy your homemade masterpiece at your wedding.
Storing and Serving Your Wedding Cake
Storing your wedding cake is essential to maintain its freshness and taste. To store your cake before the big day, you can follow these simple guidelines:
- Place your cake tiers in airtight cake boxes to prevent exposure to air and possible contamination from outside elements.
- Store the cake boxes in a cool, dark place with a consistent temperature. Avoid direct sunlight or areas with temperature fluctuations.
- If using fresh flowers for decoration, add them only on the day of the event to ensure lasting beauty and freshness.
For the transportation of your wedding cake, be mindful of a few factors:
- Carefully load the cake into your vehicle, ideally with someone to hold it steady during the drive, or secure it well to prevent any shifting or tipping.
- If possible, opt for a flat and stable platter to place the cake on. This will minimize the risk of damage during transport.
- Arrange the tiers of the cake at the venue to avoid any accidents or uneven surfaces that could compromise the cake’s stability.
When it comes to serving your wedding cake, some essential skills and tips can make the process smooth and memorable:
- Use a long, sharp knife to cut clean and even slices. Wipe the blade clean between each cut to avoid smudging the frosting.
- Estimate the number of guests and pre-plan the size of the slices to ensure there’s enough cake for everyone.
- When cutting the cake, start with the outermost tier, working your way inwards to preserve the overall appearance of the cake.
By considering these storage, transport, and serving guidelines, you can ensure that your DIY wedding cake remains a delicious and beautiful centerpiece for your special day.