Are you craving the classic taste of chocolate sandwich cookies? Look no further than our Homemade Oreos recipe. With just a few simple ingredients and a bit of time in the kitchen, you can enjoy the nostalgic flavor of everyone’s favorite cookie. Say goodbye to the store-bought versions and create your own batch of delicious homemade Oreos.
Key Takeaways:
- Create your own batch of Homemade Oreos with our DIY recipe.
- Enjoy the perfectly balanced flavor of these chocolate sandwich cookies.
- Experience the crunchy and chewy texture with a delicious cream filling.
- Customize your Homemade Oreos with different flavors like mint or peanut butter.
- Properly store and serve your homemade Oreos for maximum freshness.
The Perfect Homemade Cookie: Crunchy and Chewy with a Delicious Cream Filling
These homemade Oreos are the perfect combination of a crunchy and chewy cookie with a creamy filling. The cookie dough is made with a blend of flour, cocoa powder, butter, and sugars, resulting in a deliciously chocolatey flavor. The filling is a combination of butter, shortening, confectioners’ sugar, and vanilla extract, creating a smooth and creamy texture that perfectly complements the cookies. Indulge in the nostalgia of a homemade cookie sandwich with a homemade Oreo cream filling.
There’s something truly special about a homemade cookie that brings back fond memories of baking with loved ones. Our homemade Oreos capture that nostalgic taste and take it even further with their unique blend of textures and flavors.
The cookie dough is a delightful combination of flour, cocoa powder, butter, and sugars. These ingredients come together to create a rich and chocolatey base that is both crunchy and chewy. The dough is rolled out and cut into small rounds, ready to be baked to perfection.
While the cookies are delicious on their own, the real star of the show is the homemade Oreo cream filling. Made with butter, shortening, confectioners’ sugar, and a hint of vanilla extract, this creamy filling is what sets our homemade Oreos apart. It’s smooth, rich, and perfectly sweet, providing the perfect balance to the crunchy cookie.
“These homemade Oreos are absolutely divine! The cookie has just the right amount of crunch and chew, and the cream filling is so creamy and decadent. They taste even better than the store-bought version!” – Sarah, Homemade Oreo Enthusiast
Whether you’re craving a nostalgic treat or want to impress your friends and family with your baking skills, our homemade Oreos are the perfect choice. Enjoy them as a sweet snack, share them at parties, or even gift them to loved ones.
Next time you’re in the mood for a homemade cookie sandwich with a creamy filling, reach for our homemade Oreos. With their perfect balance of crunch, chew, and creaminess, they’re sure to satisfy your sweet tooth and bring back memories of childhood.
Easy Steps to Make Homemade Oreos from Scratch
Making homemade Oreos is easier than you might think. Start by preparing the cookie dough, which involves combining flour, cocoa powder, baking soda, and salt.
Cookie dough ingredients:
| Ingredients | Quantity |
|---|---|
| Flour | 1 cup |
| Cocoa powder | ½ cup |
| Baking soda | 1 tsp |
| Salt | ¼ tsp |
Cream butter, sugars, and egg together, then mix in the dry ingredients to form a dough. Chill the dough for 30 minutes.
Cream filling ingredients:
| Ingredients | Quantity |
|---|---|
| Butter | ½ cup (1 stick), softened |
| Shortening | ¼ cup |
| Confectioners’ sugar | 2 cups |
| Vanilla extract | 1 tsp |
Once the dough has chilled, roll it out and cut into small rounds. Bake the cookies for 6-8 minutes until slightly crispy. Let them cool completely.
Meanwhile, prepare the cream filling by whipping together butter, shortening, confectioners’ sugar, and vanilla extract until light and fluffy.
To assemble the homemade Oreos, spread a generous amount of cream filling between two cookies. Press gently to create the perfect homemade chocolate sandwich cookies.
The Science Behind Homemade Oreos: Achieving the Perfect Texture and Flavor
The key to achieving the perfect texture and flavor of homemade Oreos lies in the science behind the recipe. By carefully adjusting the ratios of flour and cocoa powder, you can create a cookie dough that is slightly crunchy yet delightfully chewy. The rich chocolatey taste combined with the perfect amount of crunch will transport you back to your childhood with every bite.
But the magic doesn’t stop there. The cookie dough also includes brown sugar, which helps reduce moisture and gives the cookies a firm, satisfying texture. By omitting milk from the dough, you ensure that the cookies hold their shape and maintain their signature crunch. It’s these small details that make a big difference in the final product.
Now, let’s talk about the Oreo cream filling. Achieving the ideal consistency is crucial to replicating the beloved cream filling found in store-bought Oreo cookies. The combination of butter, shortening, confectioners’ sugar, and a touch of vanilla extract creates a smooth and sturdy filling that pairs perfectly with the chocolate cookies. The creamy filling provides a satisfying contrast to the cookie’s texture, making each bite a heavenly experience.
When the cookie dough and cream filling come together, you get the iconic homemade Oreos that everyone loves. The science behind these cookies ensures the perfect balance of flavors and textures, making them a delectable treat that you won’t be able to resist.
So, whether you’re a fan of the crunchy chocolate cookie texture or the deliciously smooth Oreo cream filling, the science behind homemade Oreos guarantees a delightful culinary experience.
Science Behind Homemade Oreos
| Ingredient | Effect |
|---|---|
| Ratios of flour and cocoa powder | Creates a slightly crunchy yet chewy cookie texture |
| Brown sugar | Reduces moisture for a firm cookie texture |
| Omission of milk | Maintains cookie shape and enhances crunchiness |
| Butter, shortening, confectioners’ sugar, and vanilla extract | Creates a smooth and sturdy cream filling |
With the right ratios and careful attention to the science behind the recipe, you can enjoy homemade Oreos that rival the store-bought version. Embrace your inner scientist in the kitchen and indulge in the perfect blend of flavors and textures that make homemade Oreos a truly irresistible treat.
Customizing Your Homemade Oreos: Mint Edition and More
One of the best things about homemade Oreos is the ability to customize them to your liking. While the classic version is delicious on its own, you can also create variations such as mint Oreos. Add a touch of green food coloring and peppermint extract to the cream filling for a refreshing twist. Get creative with other flavors as well, like peanut butter or strawberry, by adding different extracts or mix-ins to the filling. Homemade Oreos allow you to experiment with different flavors and make them truly unique.
Want to try making your own mint Oreos at home? Here’s a simple recipe to get you started:
- In a mixing bowl, prepare the cookie dough following the homemade Oreo recipe.
- Once the dough is ready, divide it in half.
- To one half, add a few drops of green food coloring and a teaspoon of peppermint extract. Mix until well combined.
- Roll out the green dough and cut into small rounds using a cookie cutter.
- Bake the green cookies according to the recipe instructions.
- While the green cookies are cooling, prepare the cream filling without any modifications.
- Once the green cookies have cooled completely, spread a dollop of the white cream filling on the bottom side of each green cookie.
- Top with another green cookie to create a sandwich.
- Repeat this process until all the green cookies have been sandwiched with the white cream filling.
And there you have it! Your very own homemade mint Oreos with a refreshing mint flavor. These cookies are perfect for parties, afternoon snacks, or anytime you want to enjoy a delicious twist on the classic.

Other Flavor Variations
If mint isn’t your preferred flavor, don’t worry! You can experiment with a variety of flavors to create your own unique homemade Oreo combinations. Here are some ideas to get you inspired:
- Strawberry: Add a few drops of strawberry extract or pureed strawberries to the cream filling for a fruity twist.
- Peanut Butter: Mix in a tablespoon of creamy peanut butter to the cream filling for a rich and nutty flavor.
- Double Chocolate: Add some cocoa powder to the cookie dough and chocolate chips to the cream filling for an extra chocolatey treat.
- Salted Caramel: Drizzle some homemade salted caramel sauce over the cream filling before assembling the cookies for a sweet and savory combination.
With these flavor variations, the possibilities are endless! Get creative and have fun experimenting with different extracts, mix-ins, and toppings to make your homemade Oreos truly one-of-a-kind.
Homemade Oreo Flavor Variations
| Flavor | Description |
|---|---|
| Mint | A refreshing twist on the classic with a hint of mint flavor. |
| Strawberry | A fruity variation with the addition of strawberry flavor. |
| Peanut Butter | A nutty and creamy combination with the inclusion of peanut butter. |
| Double Chocolate | An extra chocolatey treat with cocoa powder and chocolate chips. |
| Salted Caramel | A sweet and savory delight with the addition of homemade salted caramel sauce. |
Storing and Serving Homemade Oreos: Tips for Maximum Freshness
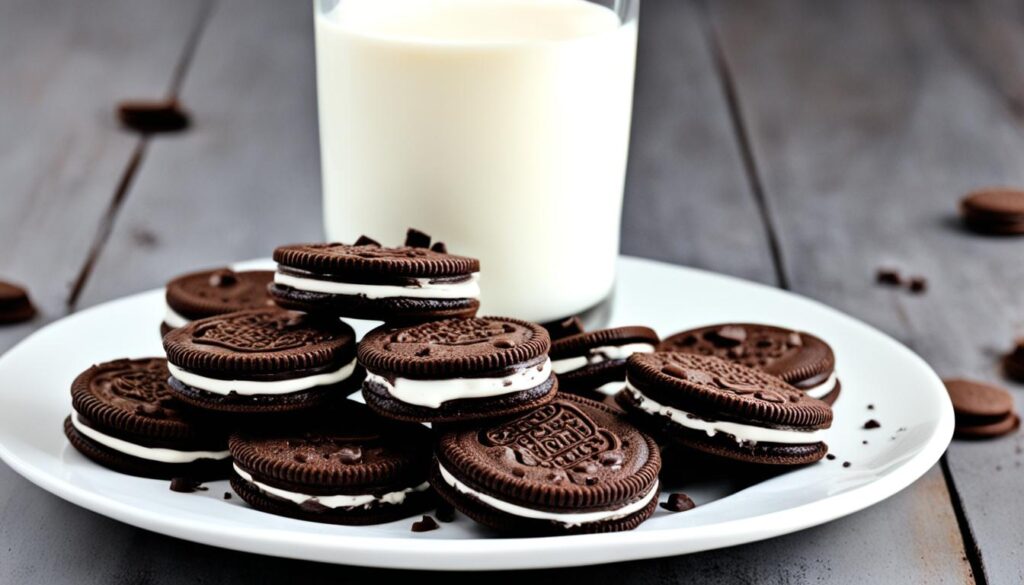
To keep your homemade Oreos fresh and delicious, it’s important to store them properly. Once assembled, the cookies can be stored at room temperature in an airtight container for up to 1 week. If you prefer a softer texture, you can store them in the refrigerator. When serving, allow the cookies to come to room temperature to ensure maximum flavor and texture. Homemade Oreos make a perfect addition to a cookie tray or as an afternoon treat with a glass of milk. Follow these tips to enjoy your homemade Oreos at their best.
Homemade Oreo Storage Options and Tips
| Storage Method | Recommended Shelf Life | Tips |
|---|---|---|
| Room Temperature | Up to 1 week | – Place cookies in an airtight container. – Store in a cool, dry place away from direct sunlight. – Seal the container tightly to prevent moisture exposure. – Keep away from strong odors to prevent flavor absorption. |
| Refrigerator | Up to 2 weeks | – Store cookies in an airtight container or resealable bag to prevent them from drying out. – Allow cookies to come to room temperature before serving for optimal texture. – Keep away from strong-smelling foods in the refrigerator to prevent flavor transfer. |
Whether you choose to store your homemade Oreos at room temperature or in the refrigerator, following these tips will help maintain their freshness and flavor. Now you can enjoy these homemade treats whenever you crave that classic Oreo taste!
Conclusion
Homemade Oreos are more than just a delicious treat â they are a trip down memory lane. By following a simple recipe and using a few key techniques, you can recreate the iconic flavor and texture of your favorite chocolate sandwich cookies. Whether you prefer the classic version or like to experiment with different flavors, making your own batch of homemade Oreos is a rewarding experience for any sweet tooth.
Why settle for store-bought when you can have the satisfaction of creating your own copycat Oreo cookies? Our DIY Oreo recipe allows you to control every aspect of the cookie-making process, from selecting high-quality ingredients to customizing the flavors to your liking. The result is a batch of homemade Oreos that is not only delicious but also made with love and care.
Indulge in the nostalgia and enjoy the taste of childhood with homemade Oreos. Share them with family and friends, or savor them for yourself as a special treat. Whether you’re hosting a cookie exchange, celebrating a birthday, or simply craving a sweet snack, homemade Oreos are sure to bring smiles to everyone’s faces. So grab your apron, gather your ingredients, and immerse yourself in the joy of baking these beloved cookies. Treat yourself to the comfort and satisfaction of homemade Oreos â you deserve it!
FAQ
Are homemade Oreos difficult to make?
Making homemade Oreos is easier than you might think. The recipe is simple and straightforward.
How long can I store homemade Oreos?
Once assembled, the cookies can be stored at room temperature in an airtight container for up to 1 week.
Can I customize the flavor of homemade Oreos?
Absolutely! You can get creative with different flavors like mint, peanut butter, or strawberry by adding different extracts or mix-ins to the filling.
What is the key to achieving the perfect texture of homemade Oreos?
The ratios of flour and cocoa powder in the cookie dough, as well as the use of brown sugar and the omission of milk, help create a slightly crunchy yet chewy texture.
How do I store homemade Oreos to keep them fresh?
It’s important to store them properly. Once assembled, store them at room temperature in an airtight container. If you prefer a softer texture, you can store them in the refrigerator.
How do I serve homemade Oreos?
When serving, allow the cookies to come to room temperature to ensure maximum flavor and texture. Homemade Oreos make a perfect addition to a cookie tray or as an afternoon treat with a glass of milk.
Can I make variations of homemade Oreos?
Yes! You can customize homemade Oreos by adding different flavors, extracts, or mix-ins to the filling to make them truly unique.
How do I achieve the perfect cream filling for homemade Oreos?
The cream filling is made by whipping together butter, shortening, confectioners’ sugar, and vanilla extract to achieve a smooth and creamy consistency.