Kale chips have recently gained popularity as a healthy and delicious snack option. The crunchy, flavorful bites pack a nutritional punch, making them an excellent alternative to traditional potato chips. Not only are they packed with vitamins and minerals, but they’re also low in calories and high in fiber, promoting a balanced and nutritious diet.
Making kale chips at home is simple, requiring just a few basic ingredients and minimal cooking time. All you need is fresh kale, olive oil, and your choice of seasoning, such as salt or garlic powder. With a few easy steps, you can create a tasty, homemade snack that satisfies your cravings while supporting your overall health.
In this article, we’ll walk you through the process of making your own kale chips, from preparing the kale leaves to baking them to crispy perfection. We’ll also discuss various seasoning options to customize your chips to your liking, ensuring that you can enjoy this nutritious treat all year round.
Selecting the Best Kale
Curly Kale vs Lacinato Kale
When choosing kale for your chips, you have two main types to consider: curly kale and lacinato kale. Curly kale has tightly ruffled, deep-green leaves while lacinato kale, also known as Tuscan or dinosaur kale, has flat, dark green leaves with a bumpy texture. While both varieties can be used for making chips, they have slightly different characteristics.
Curly kale:
- Easier to find in most grocery stores
- Tends to hold more seasonings due to its ruffled texture
- Can be more difficult to clean
Lacinato kale:
- Milder flavor
- Flatter leaves make it easier to clean
- Harder to find in some stores
Both varieties will yield delicious, crunchy chips. It’s ultimately up to your personal preference and availability in your area.
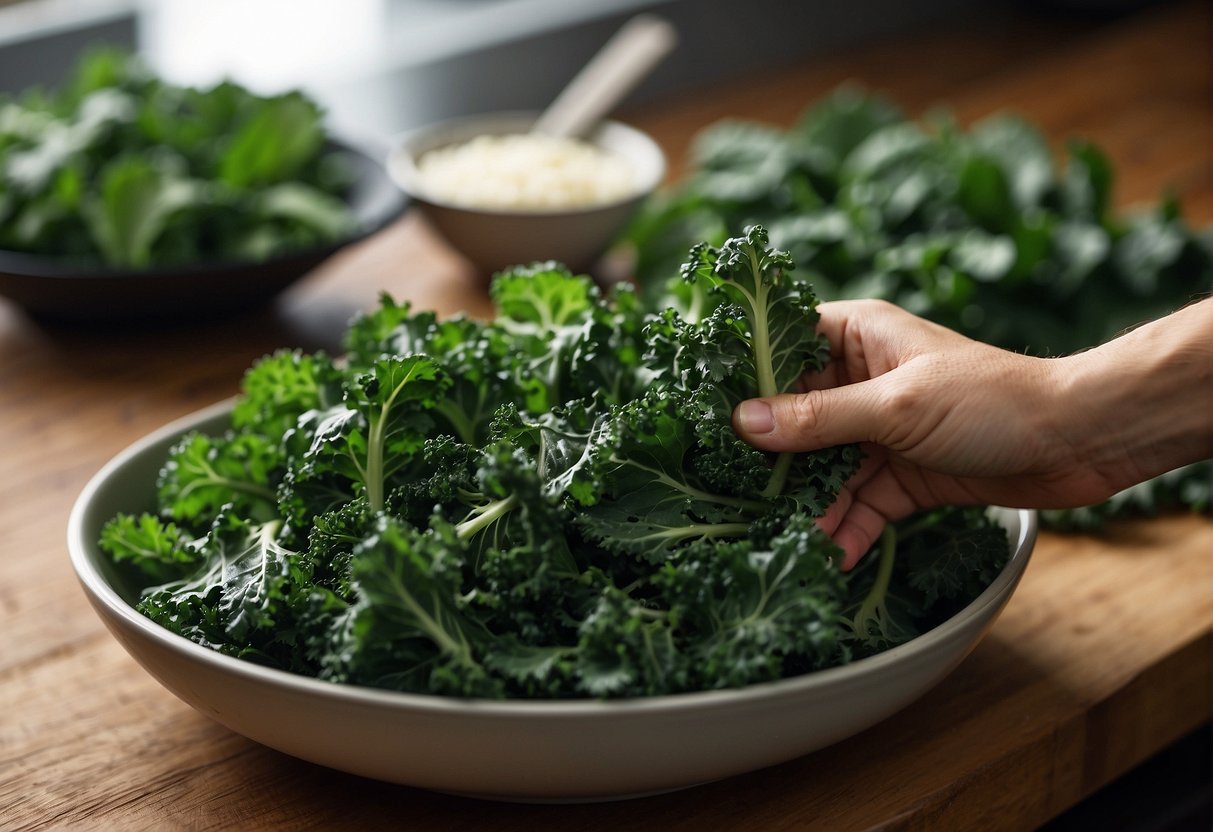
Freshness and Quality
When selecting kale for your chips, look for the following indicators of freshness and quality:
- Vibrant color: Fresh kale should have deep, even coloring, whether it’s the green of curly kale or the dark green of lacinato kale. Avoid pale or yellowing leaves, as they may be signs of age or poor storage conditions.
- Firm leaves: Gently squeeze the leaves to check for their firmness. Fresh kale leaves should feel crisp and sturdy, not limp or wilted.
- Intact stems: The stems should be strong and free from damage. This can ensure that the kale will hold up well during the baking process.
- Lack of blemishes: Check for any signs of insect damage, holes, or decay on the leaves. This could affect the quality and taste of your chips.
Once you have chosen the best kale, store it properly by wrapping it loosely in a damp paper towel and placing it in a plastic bag in the refrigerator until you’re ready to make your chips. This will help maintain its freshness and quality.
Preparing Kale for Baking
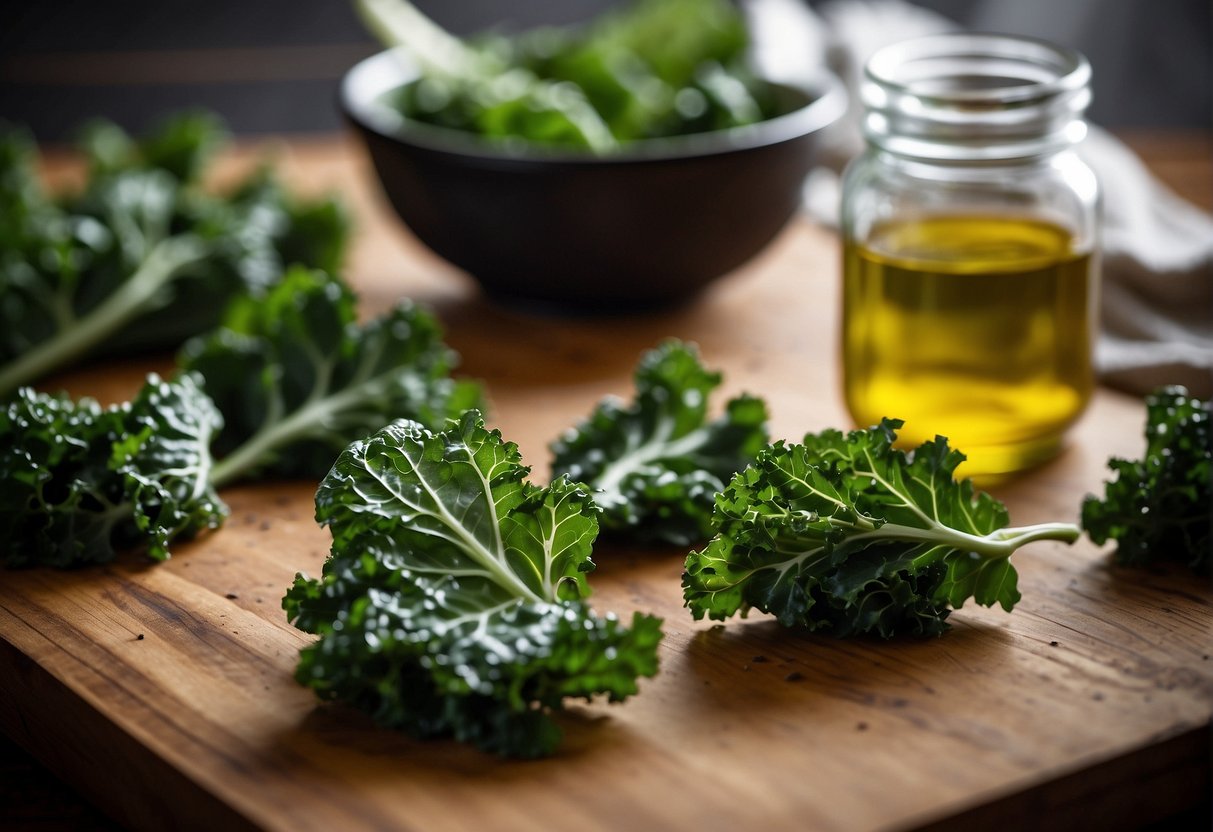
Washing and Drying
Before you start making your kale chips, it’s crucial to wash the kale leaves thoroughly to remove any dirt or debris. Rinse the leaves under cold running water and then use a salad spinner or clean kitchen towel to remove any excess water. It’s essential that the kale is completely dry before baking; otherwise, the leaves won’t become crispy.
Cutting and Destemming
Next, use a sharp knife to remove the tough stems from the kale leaves. Trim the leaves into equal, bite-sized pieces, ensuring that they aren’t too small, as they will shrink during the baking process. You can either use your hands to tear the leaves from the stem or use a knife to carefully cut them away.
Seasoning Kale Leaves
Once your kale leaves are washed, dried, and ready for baking, it’s time to season them. In a large mixing bowl, drizzle a small amount of olive oil (about 1-2 tablespoons) over the leaves, and use your hands to massage the oil into the leaves, ensuring even coverage. Be careful not to use too much oil, as this can lead to soggy chips.
| Seasoning | Amount |
|---|---|
| Garlic powder | 1/4 tsp |
| Sea salt | 1/4 tsp |
Sprinkle the kale leaves evenly with garlic powder and sea salt (as listed in the table above), and toss to combine. If you wish to use other seasonings, such as nutritional yeast, cumin, or chili powder, feel free to experiment with your preferred flavors. Just remember to avoid over-seasoning, as this can make the chips too salty or overpowering.
Baking the Kale Chips
Setting up the Oven
First, preheat your oven to 300°F (150°C). A lower temperature is essential for achieving crispy kale chips without burning them. Ensure that your oven racks are positioned in the middle for even cooking.
Using the Baking Sheet
Next, line a baking sheet with parchment paper. This will prevent the kale chips from sticking and make cleanup easier. It’s important to avoid overcrowding the kale on the baking sheet to ensure even cooking and crispiness. Spread the kale leaves in a single layer, with some space between each piece.
TIP: To enhance the flavor, you can lightly massage the kale leaves with a bit of olive oil and sprinkle some salt before placing them on the baking sheet. Other seasonings like nutritional yeast, garlic powder, or chili powder can also be used.
Monitoring Cook Time
Place the baking sheet in the preheated oven and bake the kale chips for approximately 10-15 minutes. Keep an eye on them to avoid burning, as the cook time may vary depending on the thickness of the kale leaves and your specific oven.
To check for doneness, the kale chips should be crispy and dry to the touch, with the edges just starting to brown. Remove the baking sheet from the oven and let the kale chips cool on the paper for a few minutes before serving. This will help them crisp up even more, ensuring that satisfying crunch.
By following these steps, you’ll have a delicious and healthy snack to enjoy. Remember, practice makes perfect, and you’ll soon master the art of making the perfect oven-baked kale chips.
Flavor Variations and Seasonings
In this section, we will explore different flavor variations and seasonings that can enhance your kale chips experience. From classic seasoning options to unique twists, there are many ways to experiment with flavor and create the perfect snack tailored to your taste buds.
Classic and Simple
For a classic and simple approach, season your kale chips with a mixture of olive oil, salt, and pepper. You can also add a touch of garlic powder to give an extra layer of flavor. Here is a brief list of simple seasonings to try:
- Salt
- Pepper
- Garlic powder
- Olive oil
Spicy Twists
If you’re up for something with a bit more heat, consider adding a dash of cayenne pepper or chili powder to your seasoning mix. These spices can add a bold flavor, making it a unique and interesting snack choice. Here are some spicy seasoning ideas to experiment with:
- Cayenne pepper
- Chili powder
- Paprika
- Hot sauce
- Crushed red pepper flakes
Cheesy Delights
For those who enjoy cheesy flavors, incorporating parmesan or nutritional yeast into your kale chips seasonings is a game-changer. Both options provide a delicious, cheesy taste while still maintaining a healthy profile. Below is a selection of cheesy seasonings to try out:
- Parmesan
- Nutritional yeast
- Cheddar cheese powder
- Garlic and herb seasoning
- Italian seasoning blend
Remember, the key to making kale chips is to coat the leaves evenly with your chosen seasonings and bake them until crispy. Don’t be afraid to get creative with your flavor combinations and explore new seasoning variations to enhance your homemade kale chips!
Storing and Keeping Kale Chips Crispy
Best Practices for Storage
To ensure your kale chips remain crispy and delicious, you should let them cool completely before storing them. Once cooled, place the chips in an airtight container or a paper bag with a bit of dry rice to absorb any excess moisture. This helps maintain their crunchiness for an extended period. Keep the container at room temperature for up to 2-3 days, but keep in mind that they are best enjoyed as soon as possible.
Here are some key points for storing your kale chips:
- Let them cool completely before storing
- Use an airtight container or paper bag with dry rice
- Store at room temperature
- Consume within 2-3 days for optimal crunchiness
Troubleshooting Common Issues
If you find your kale chips losing their crispness, it’s most likely due to moisture creeping in. To help prevent this, double-check your storage container’s seal and make sure the chips have thoroughly cooled before placing them inside. Additionally, be sure to dry your kale leaves completely before making your chips; excess moisture in the leaves can contribute to soggy chips. Using a salad spinner or thoroughly patting them dry with paper towels after washing is recommended.
Here is a brief troubleshooting guide for common issues:
| Issue | Solution |
|---|---|
| Soggy chips | Ensure kale is completely dry before making chips |
| Lost crispness | Let chips cool completely and properly seal the container |
By following these best practices and troubleshooting tips, you’ll be able to enjoy crunchy, delicious kale chips every time.